5.1 Create a Project
From the Projects dashboard, click on ‘Create New Project’
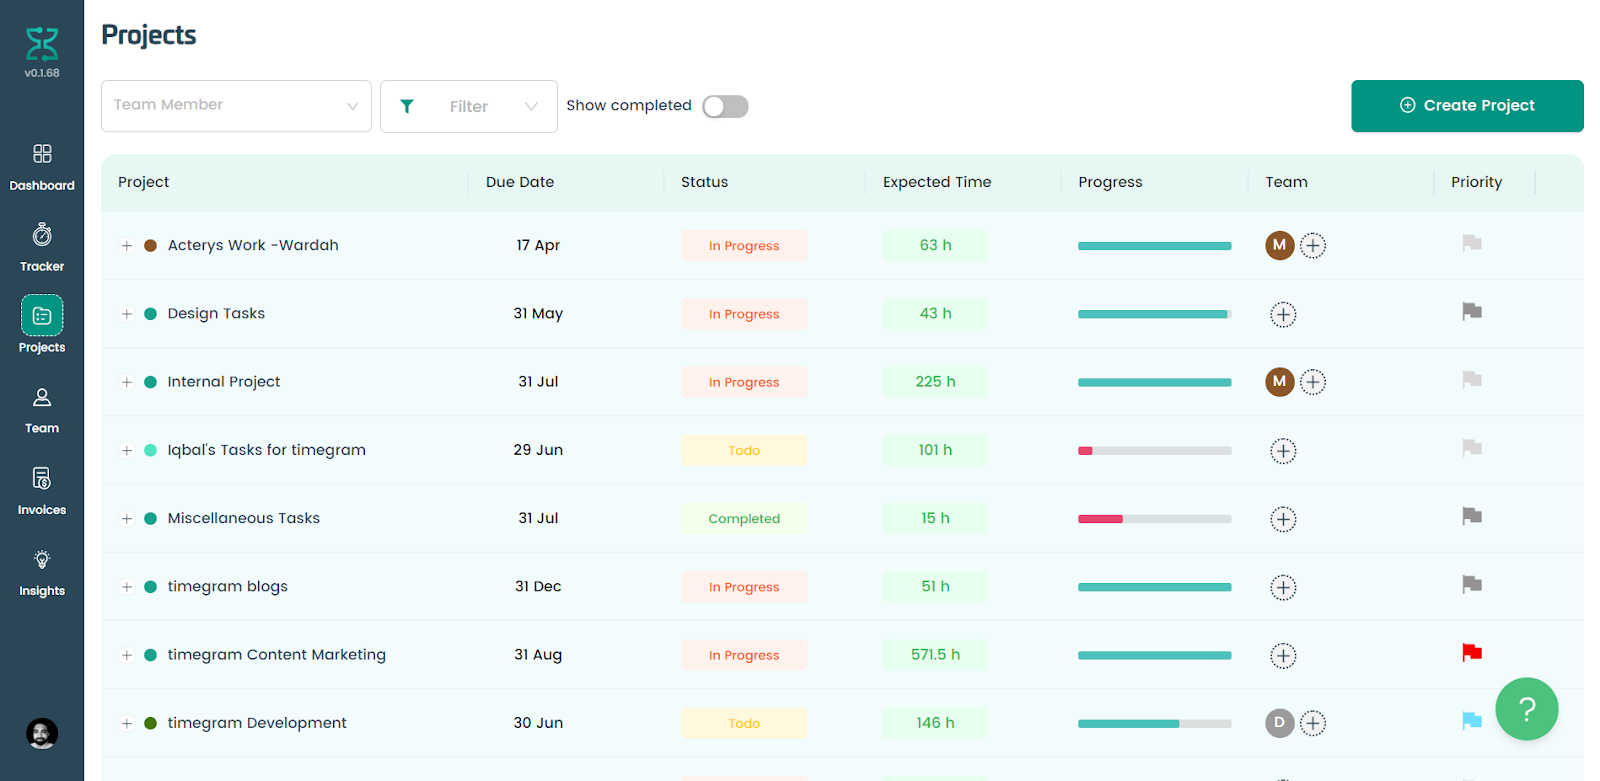
Clicking the button will open the Create Project drawer, where you will add the details of the project.
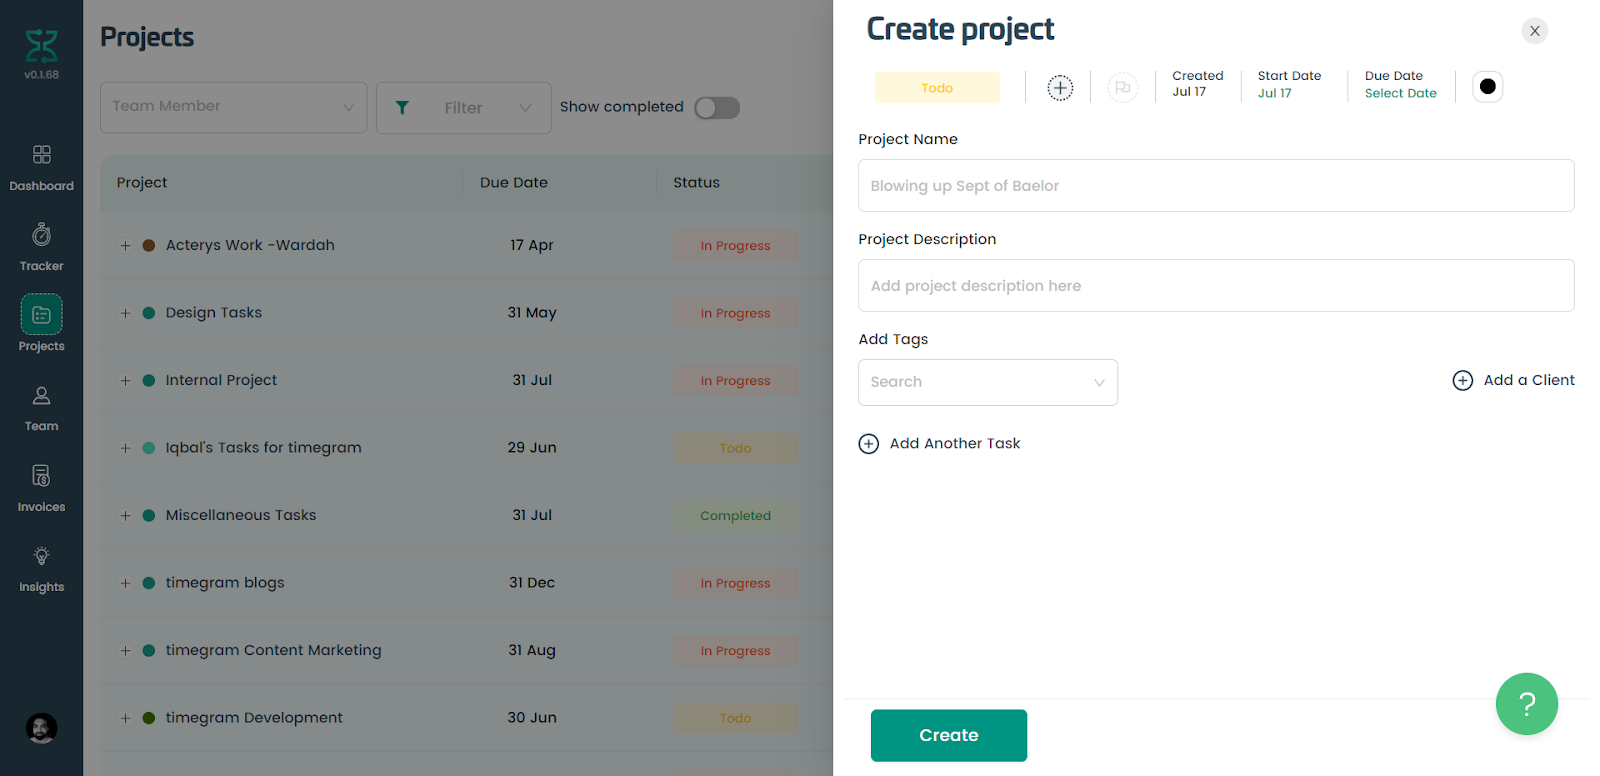
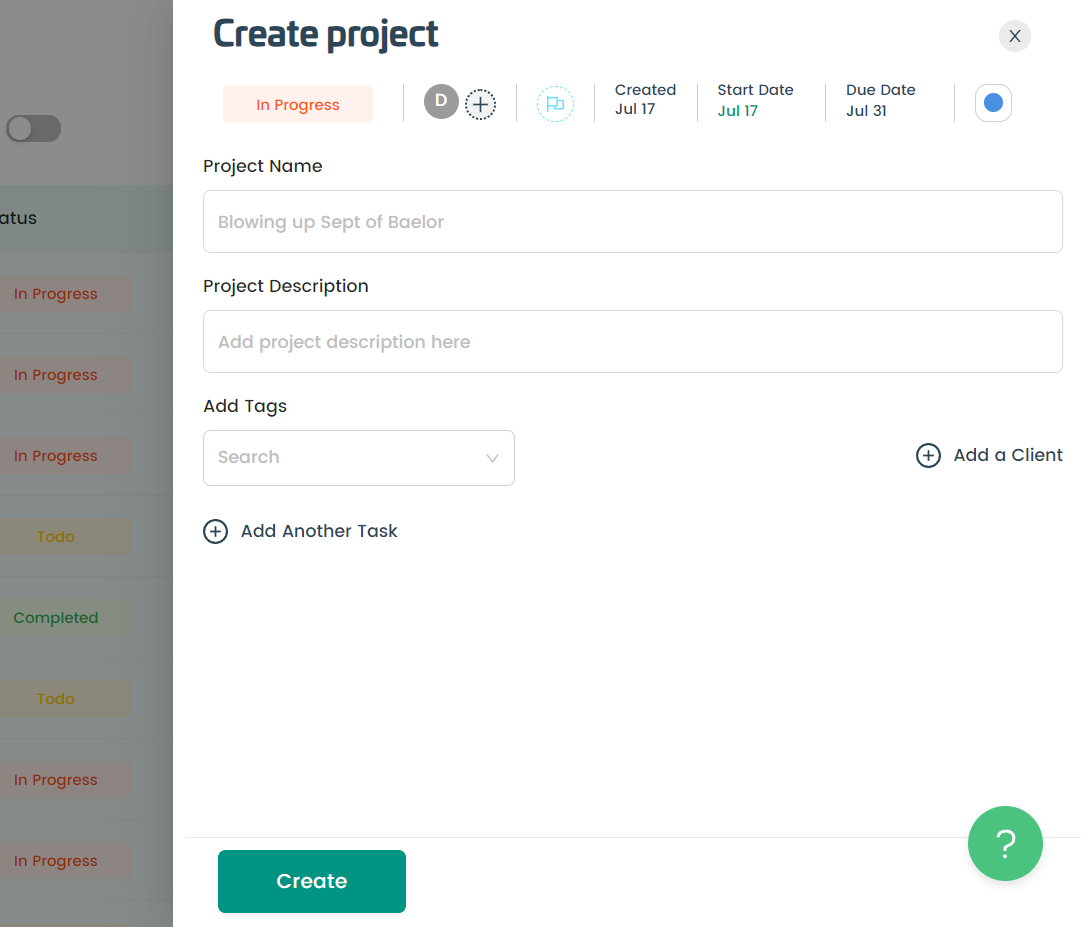
Add Project Details

- Choose the project status (optional)
- Add a team to your project (mandatory and multiple teams can be added)
- Set priority status (optional)
- Choose a due date based on project importance
-
Select a color for project identification (optional)
The next step is enter the following details:
- Enter the project name
- Provide a project description (optional)
- Add tags
- Add new or existing client (optional)
- Add a task (optional)
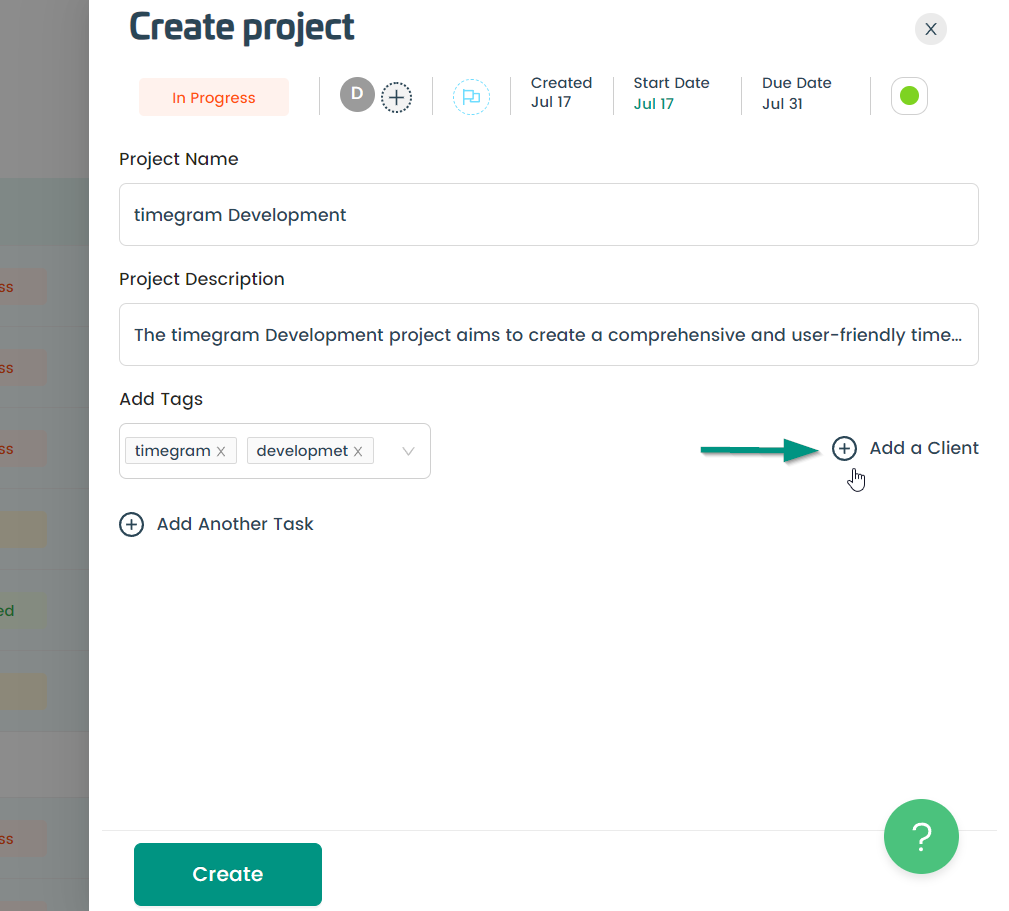
Adding a Client
Generally suitable for agencies, the Add a Client option allows you create projects for your different clients. You can have 1 client with multiple projects, which makes invoicing and reporting a breeze in timegram. To add a client, click on “Add a Client”
If you are adding a new client, fill out the following information:
- Fill in the client's name
- Enter the client's email
- Enter the company name
Click on Add Client. You’ll notice that a new field to set the hourly rate of the project for this client.

If you have an existing client with a new project:
Click on "Add a Client," then select "Add existing client" to open a pop-up.
- Choose your client.
-
Set the hourly rate.

To add a task to your project, follow these steps:
- Add task name
- Set the due date
- Specify the task status
- Set the estimated hours
- Add a member to the task
- Set the priority status

You can create multiple tasks when creating a project.
Click on “Create” and your project will be created. You can see this project and its progress on the Projects section.