Jira - timegram Integration through Zapier
Introduction:
timegram can seamlessly integrate with Jira through Zapier, allowing you to reflect Jira tasks in the timegram effortlessly. This guide will walk you through the integration process, ensuring a smooth and efficient connection between the two platforms.
Prerequisites:
Before starting the integration, ensure you must have a task created on Jira with all the necessary fields filled out, as this task will be reflected in the timegram.
Sync Jira Tasks with timegram:
Integration Steps:
1. Creating a Zap on Zapier:
- Click on "Create Zap" to initiate the integration process.
- Choose "Jira Software Cloud" as the trigger app since we want to create tasks on Jira which will then reflect on your timegram account/organization.

- Select the event, in this case, choose New Issue

- Click "Continue" to proceed.
2. Connecting Jira Account:
- Click on "Choose Account" to connect your Jira account to Zapier.

- Sign in to your "Jira" account when prompted.
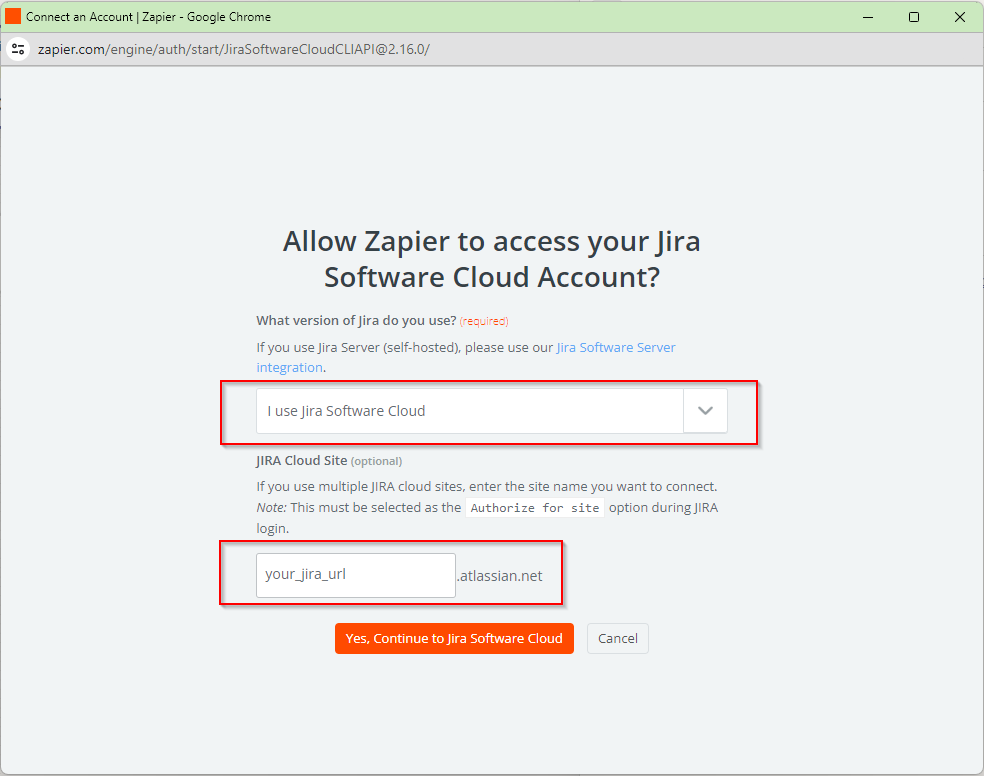
- Expand the trigger field and select the desired project you want to connect with timegram.
- Click "Continue."

- Expand the Test field and click "Test trigger" to verify the connectivity.
- Once verified, click Continue with a selected record to move to the next action step.
3. Configuring timegram Action:
- Search for the timegram to select it as the action app.
- Choose the event "Create/Update Task"
- Click "Continue"
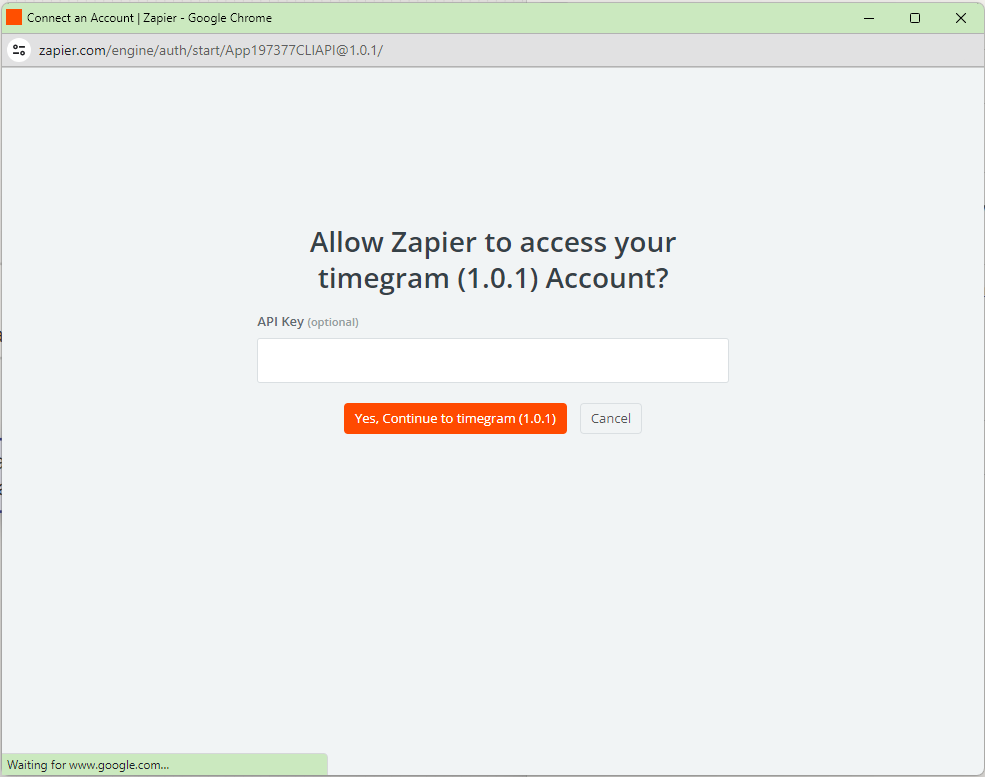
- Connect your "timegram" account by clicking Connect a new account
- In the new window, input your timegram "API key".
-
To obtain the API key, go to your timegram Account Settings page, navigate to the integration tab, and click Generate API Key. Copy and paste the key into the Zapier window.


- Click "Continue."
Choose Action Application:
Choose timegram as your preferred action application by following this Zapier application link: https://zapier.com/apps/timegram/integrations
Action Configuration:
- Provide the necessary details for the timegram action based on the Jira trigger.
- Map the fields according to the values mentioned:
- Project Integration Id: Project Id
- Task Name: Summary
- Task Member: Assignee Display Name
- Task Hours: Aggregatetimeestimate
- Task Status: Status Status Category Name
- Task Integration Id: Key
- Project Name: Project Name
- Task Description: Description Content Content Text
- Task Priority: Priority Name
- Task Due Date: Duedate

- Click "Continue"
- Test the step, and you will see the message "Task updated successfully"


- Reload and check your timegram account; the project and selected task should appear on the screen.
- Click Publish to finalize and publish this Zap.
Congratulations! You have successfully integrated the timegram with Jira through Zapier. Your Jira tasks will now seamlessly reflect in the timegram.
See how you can Reflect Updated Jira Tasks on timegram